Paper Making Help
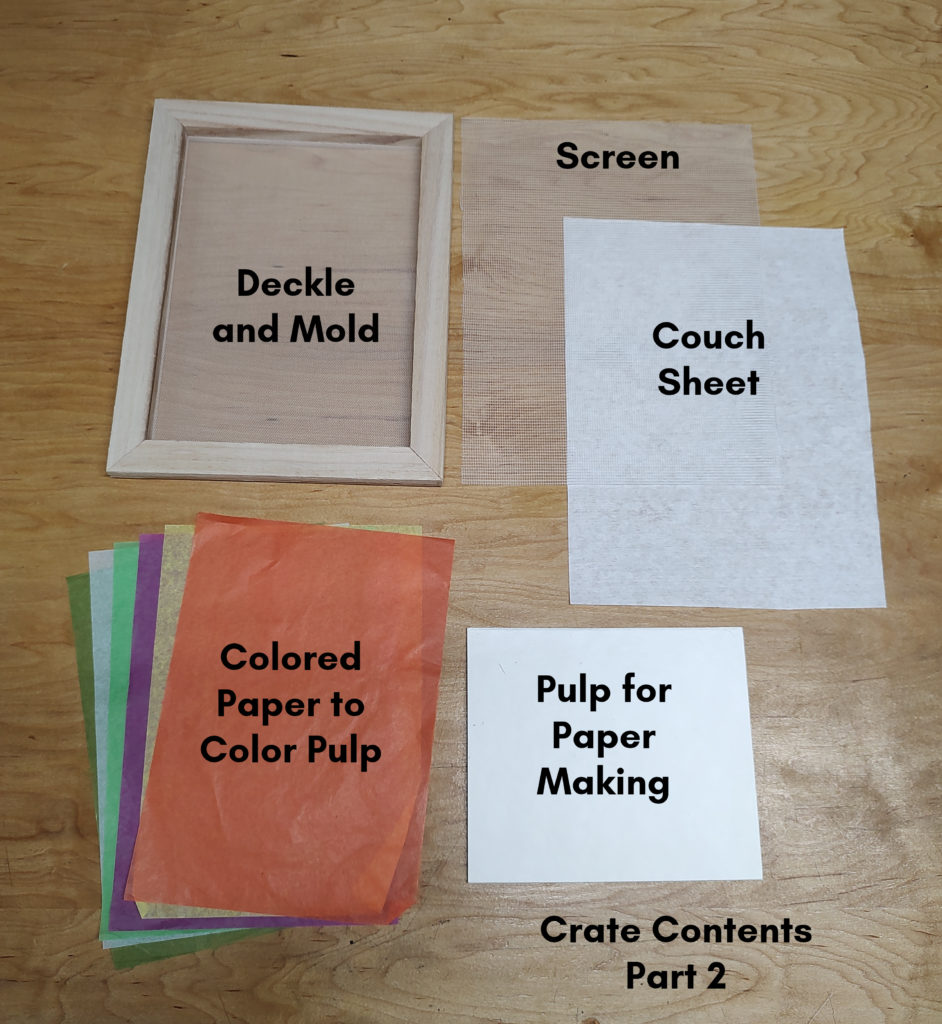
The Paper Making Crate Contains:
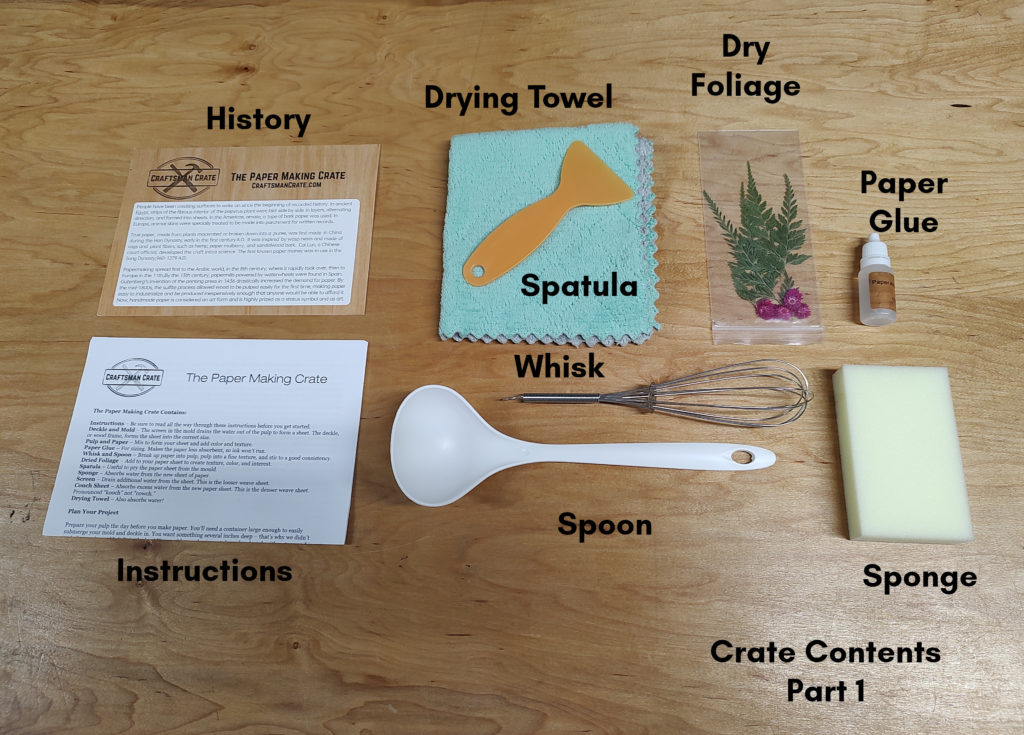
and
Sometimes it’s hard to picture what we’re describing in the instructions, so here’s a little help!
Here’s how you dip the deckle and mold into the pulp slurry:
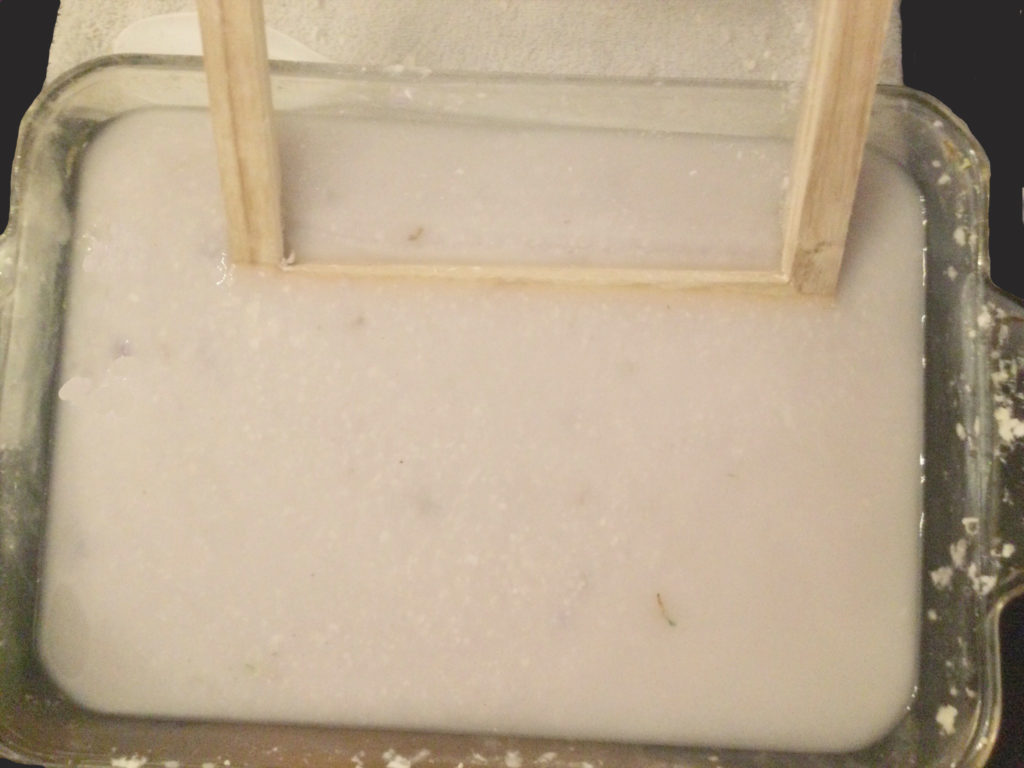
Swish the deckle and mold in the pulp slurry:
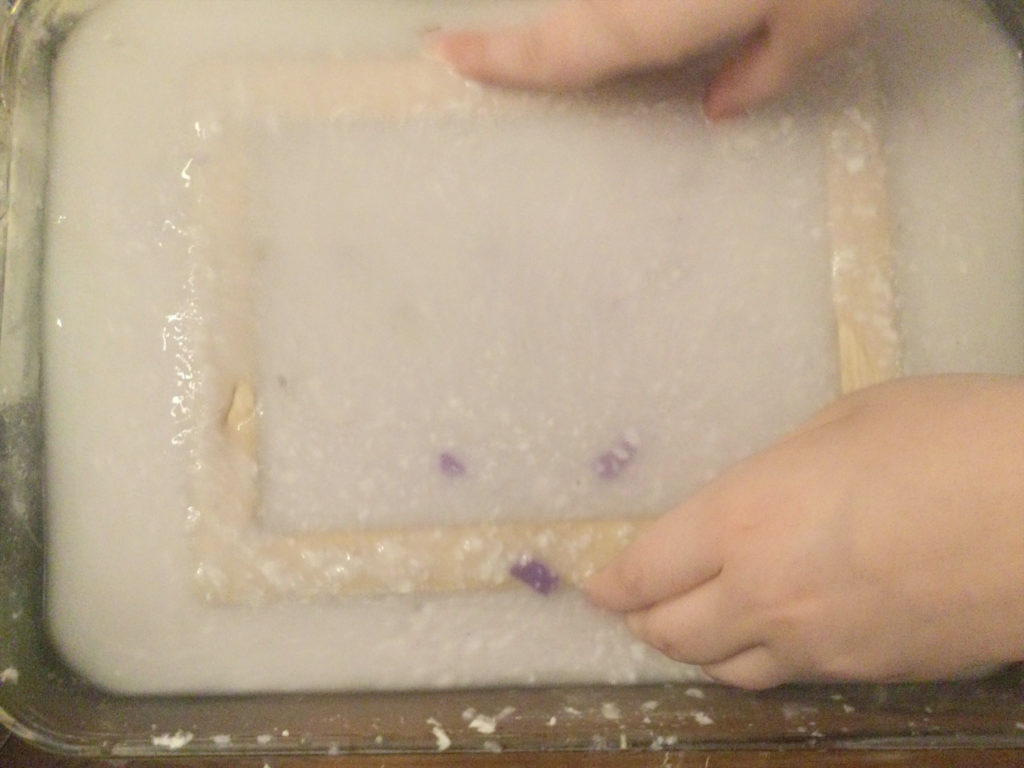
Lift the deckle and mold out of the pulp slurry, gently swishing it back and forth:
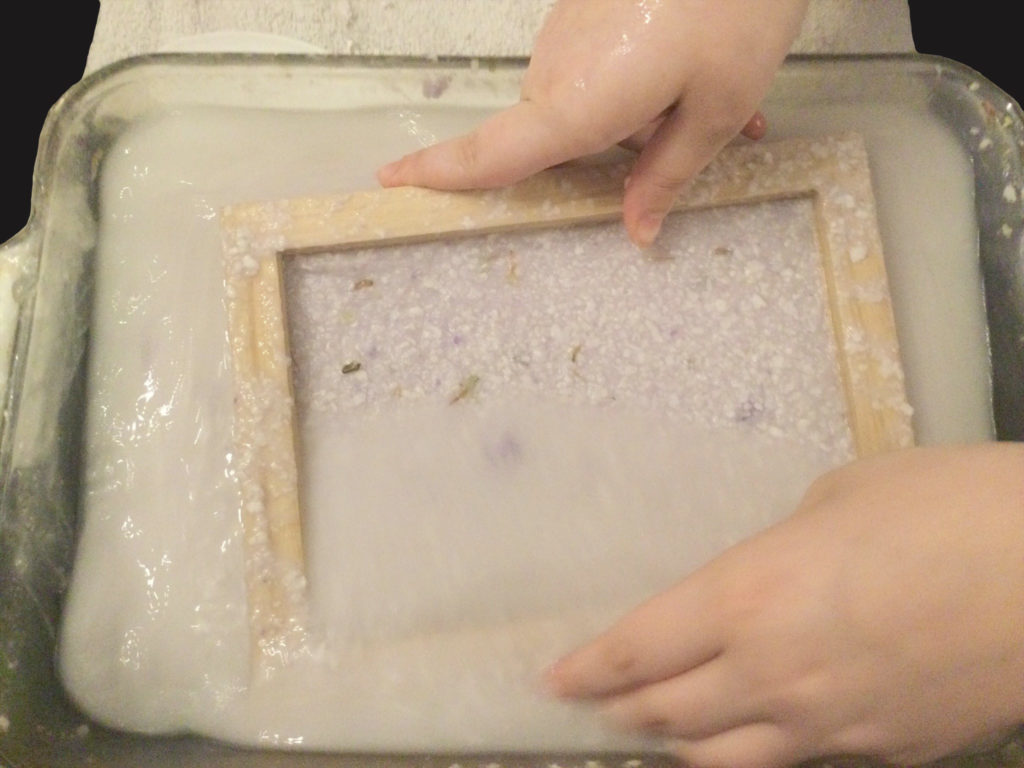
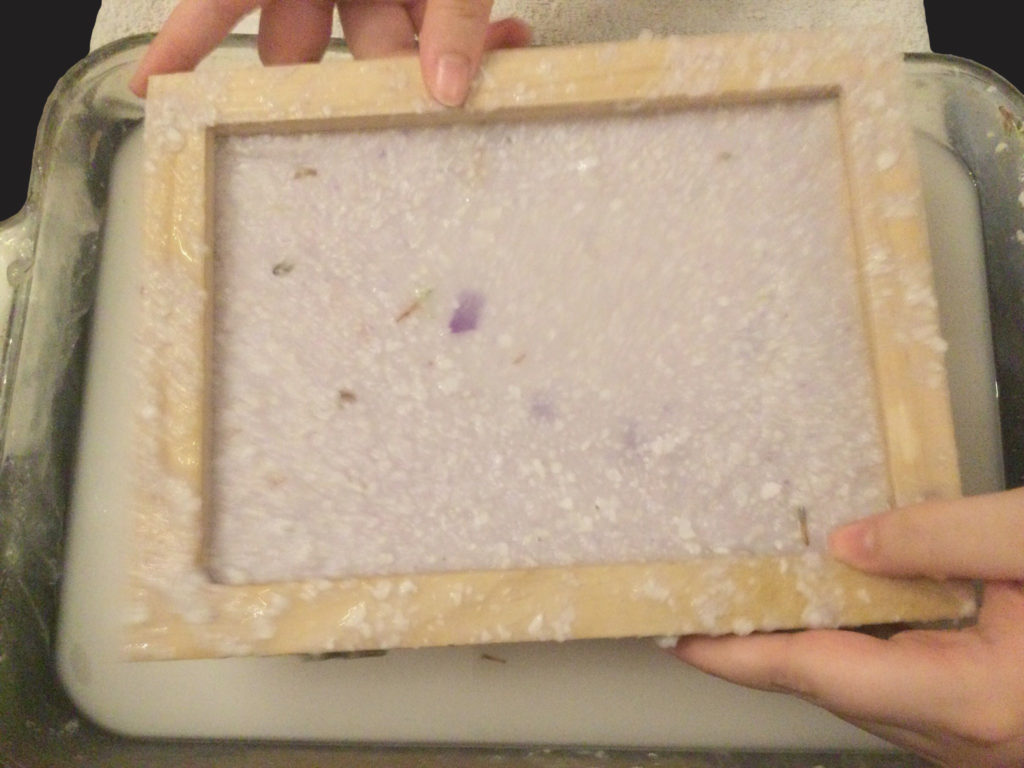
Let the water drain out of the deckle and mold:
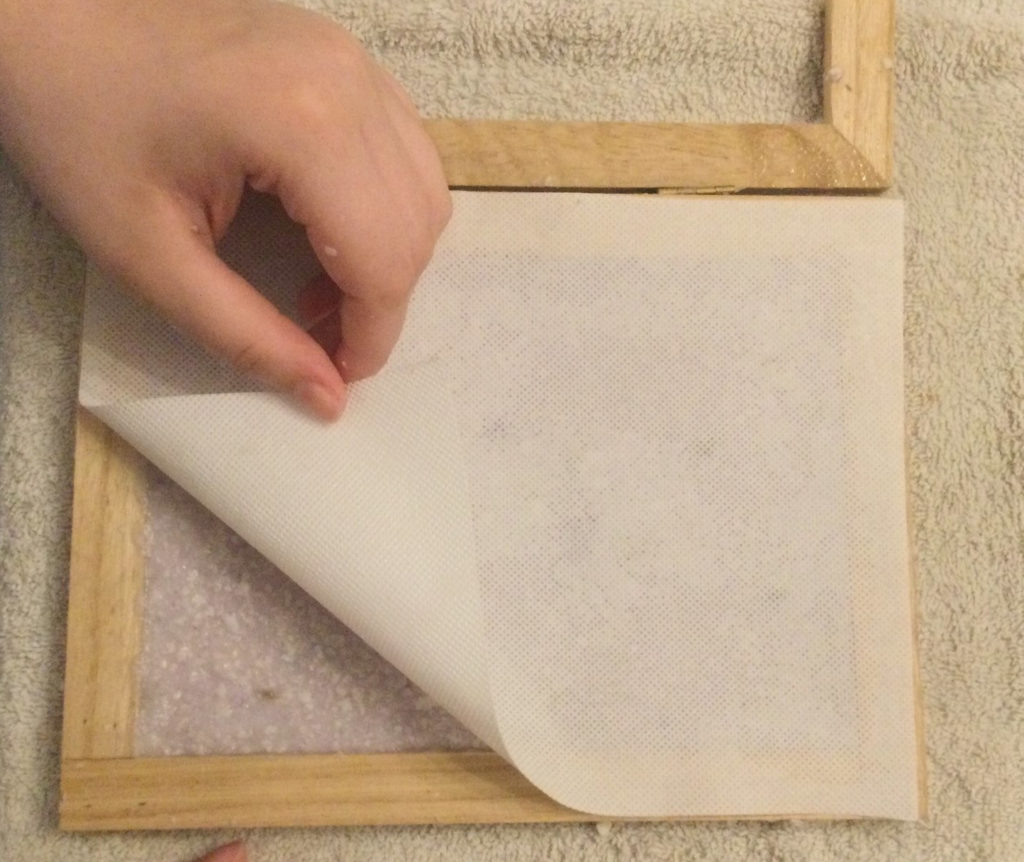
Open the deckle and place a couching sheet over the new sheet:
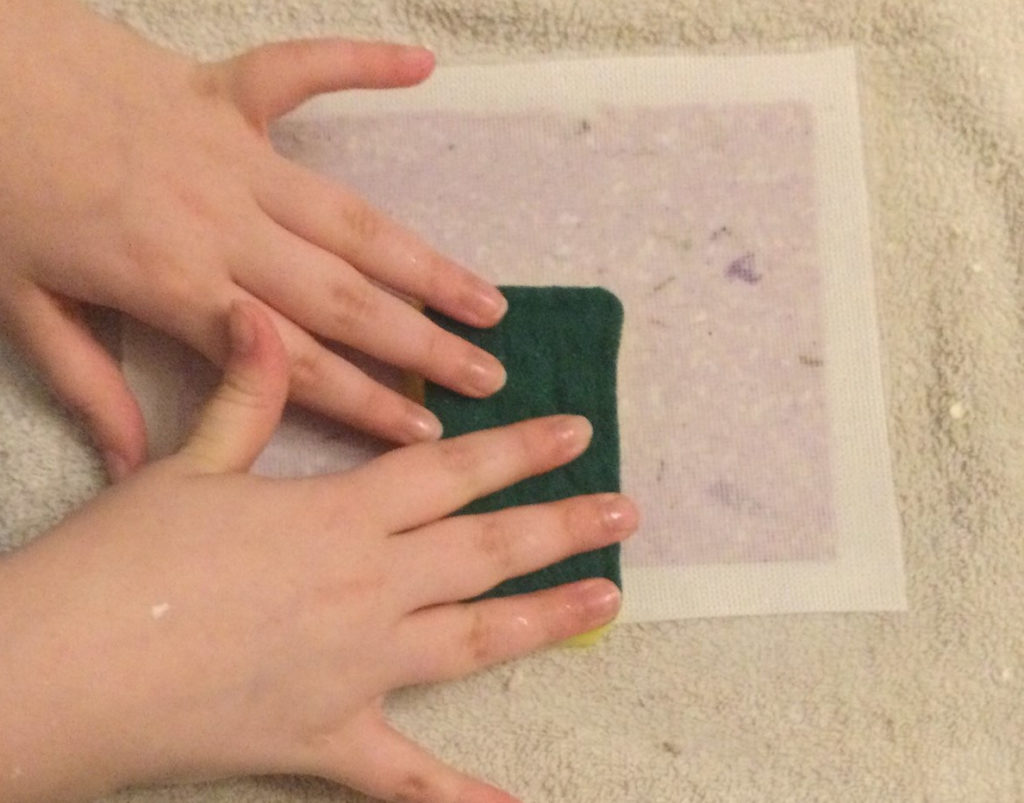
Use a dry sponge to remove water from the new sheet while it is still in the mold – so you can remove it from the mold:
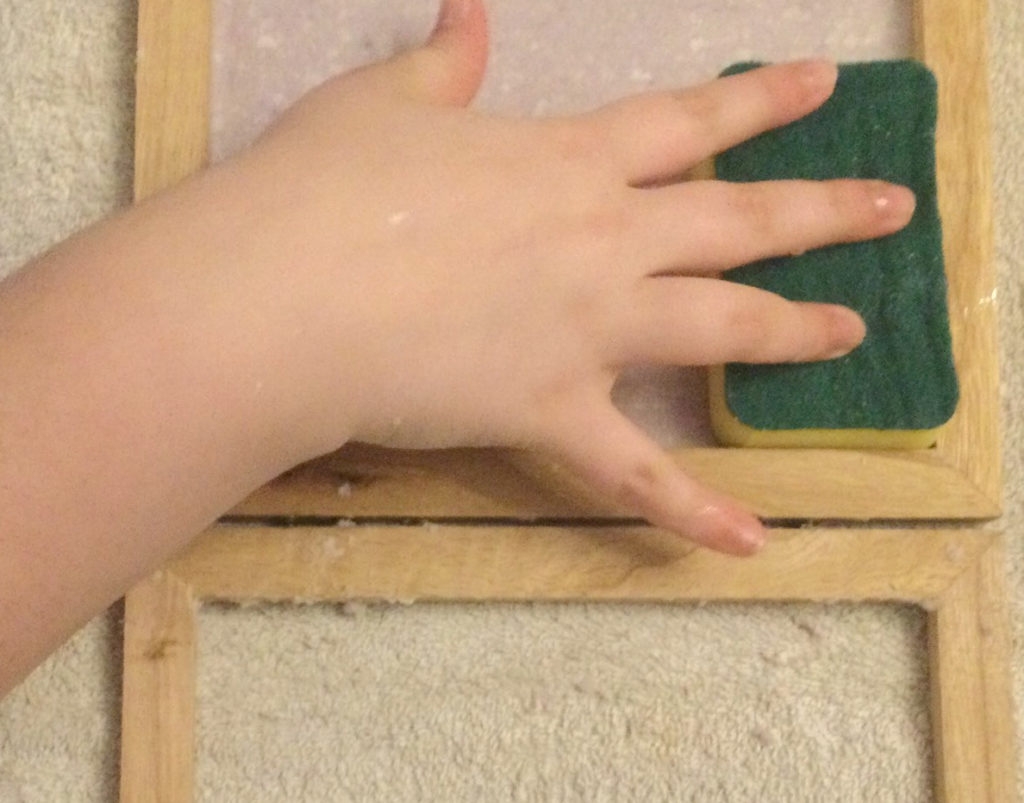
Once the new sheet is free from the mold, place a screen on top and continue to remove water with the dry sponge:
After you’ve used the press board to remove water and bond the fibers, then carefully remove the couch sheet and screen and allow the new sheet to dry:
![]()
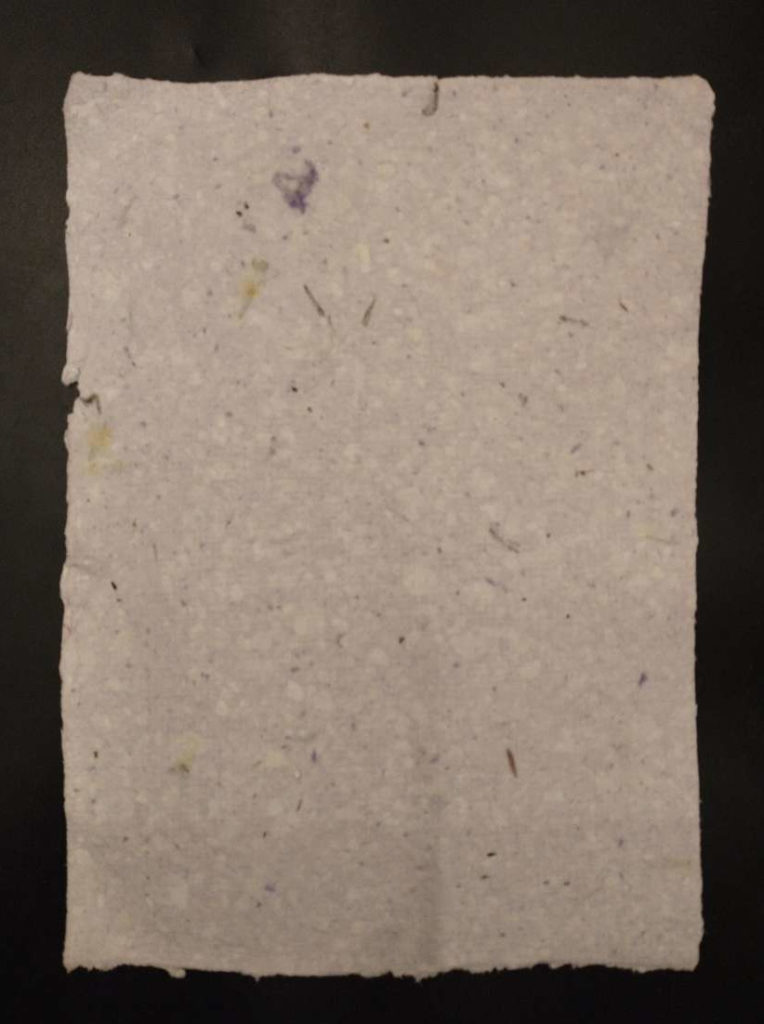
Here are some of the first sheets of paper that we created when we were developing this crate. This one is still drying:
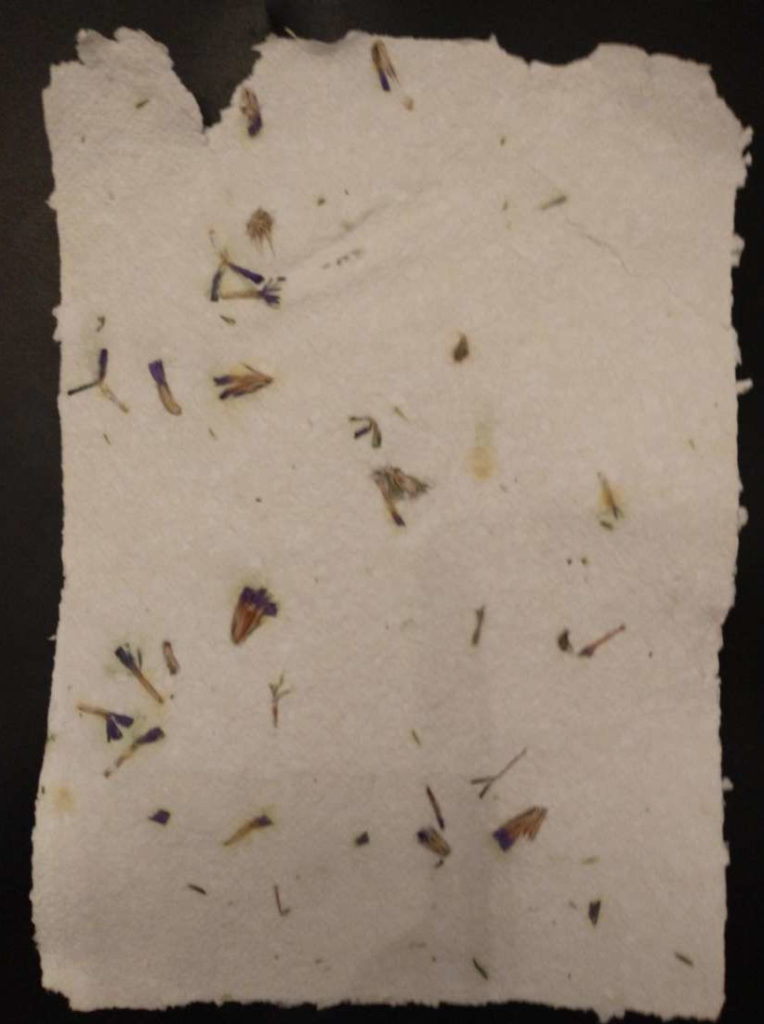
This was our first sheet, which we had a little trouble removing from the mold. This one is white with dried foliage added:
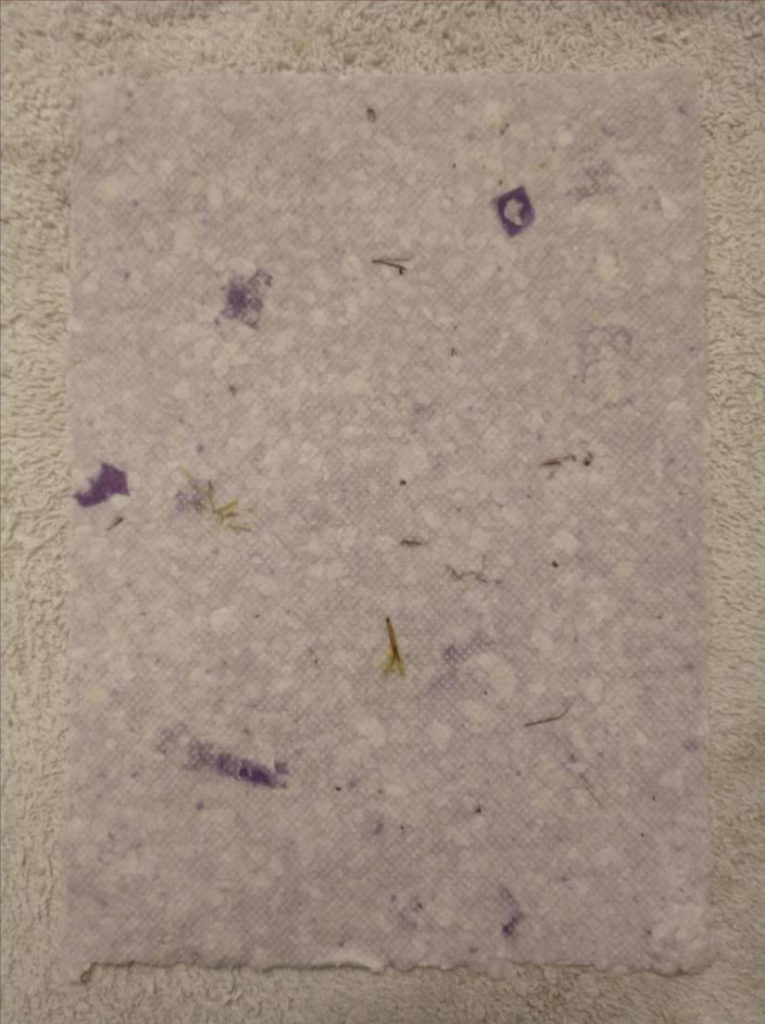
A later sheet came off the mold more easily. This sheet used purple construction paper for color and dried foliage for visual interest:
We would love to see the paper you create!
All images copyright 2022 by The Great Waters Company and may not be reproduced or stored in any fashion without express written permission.